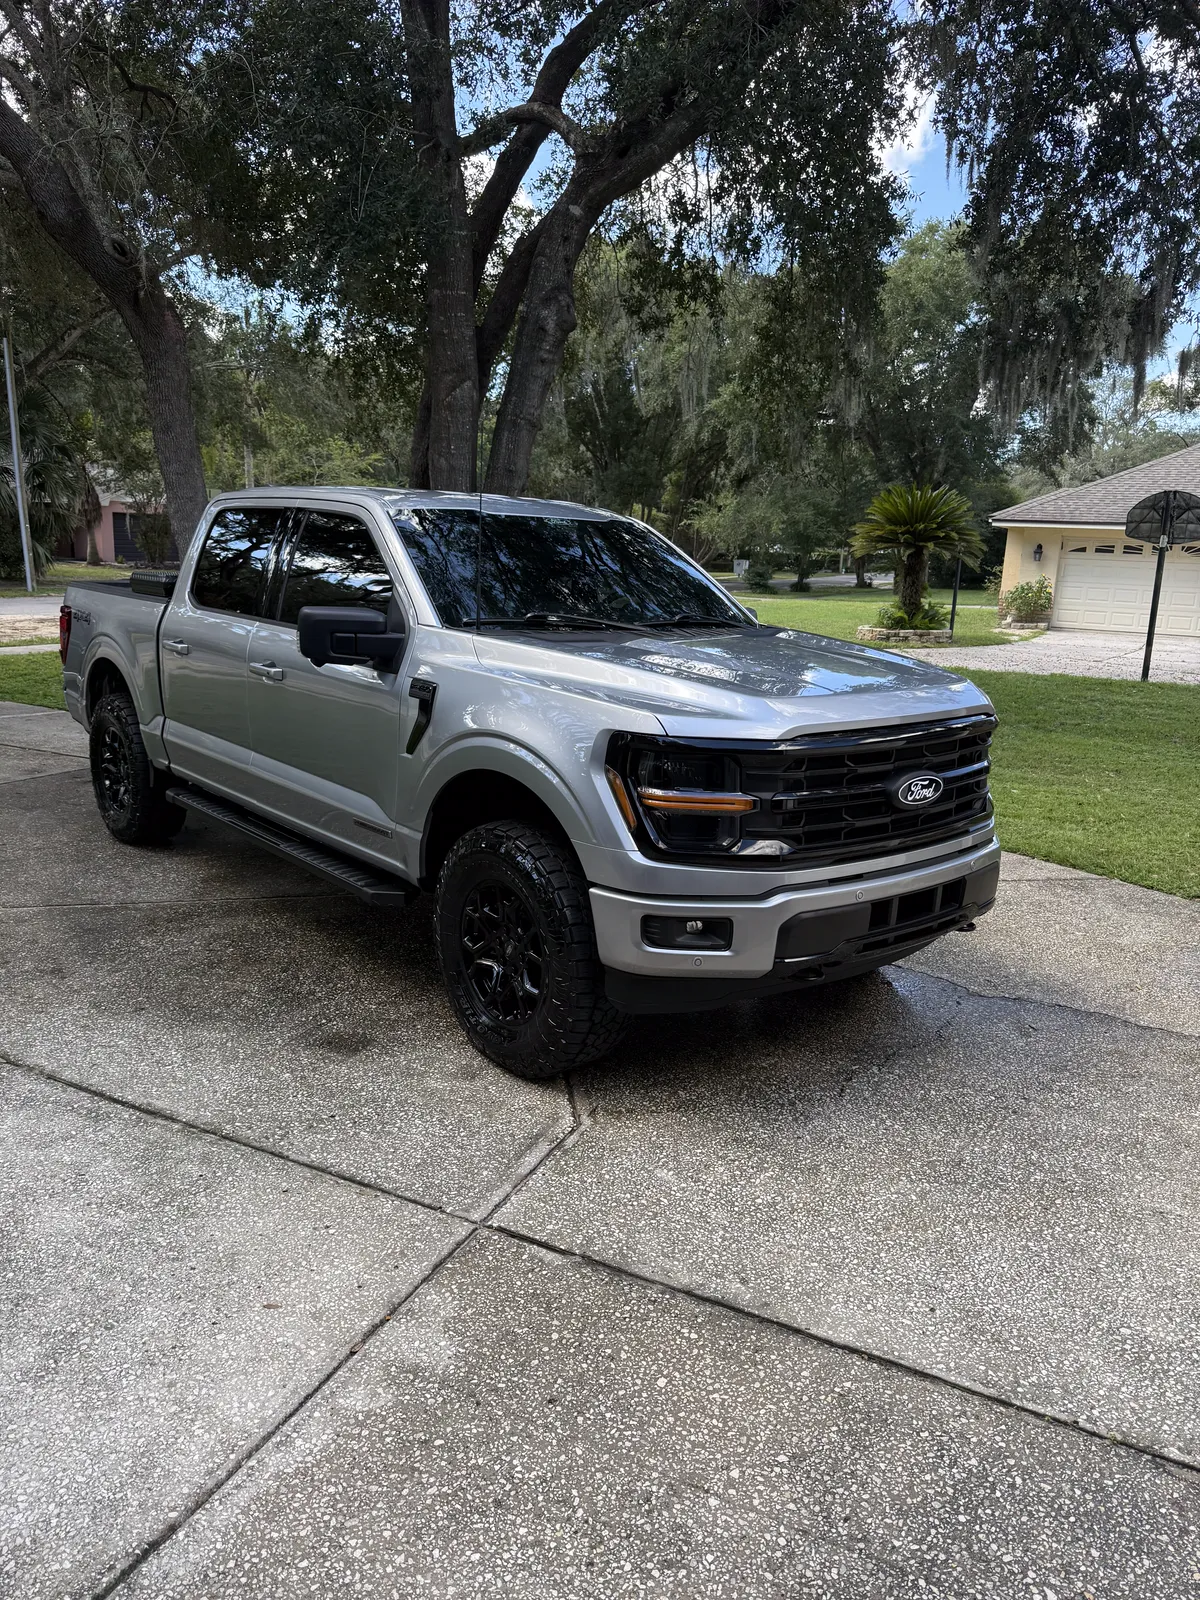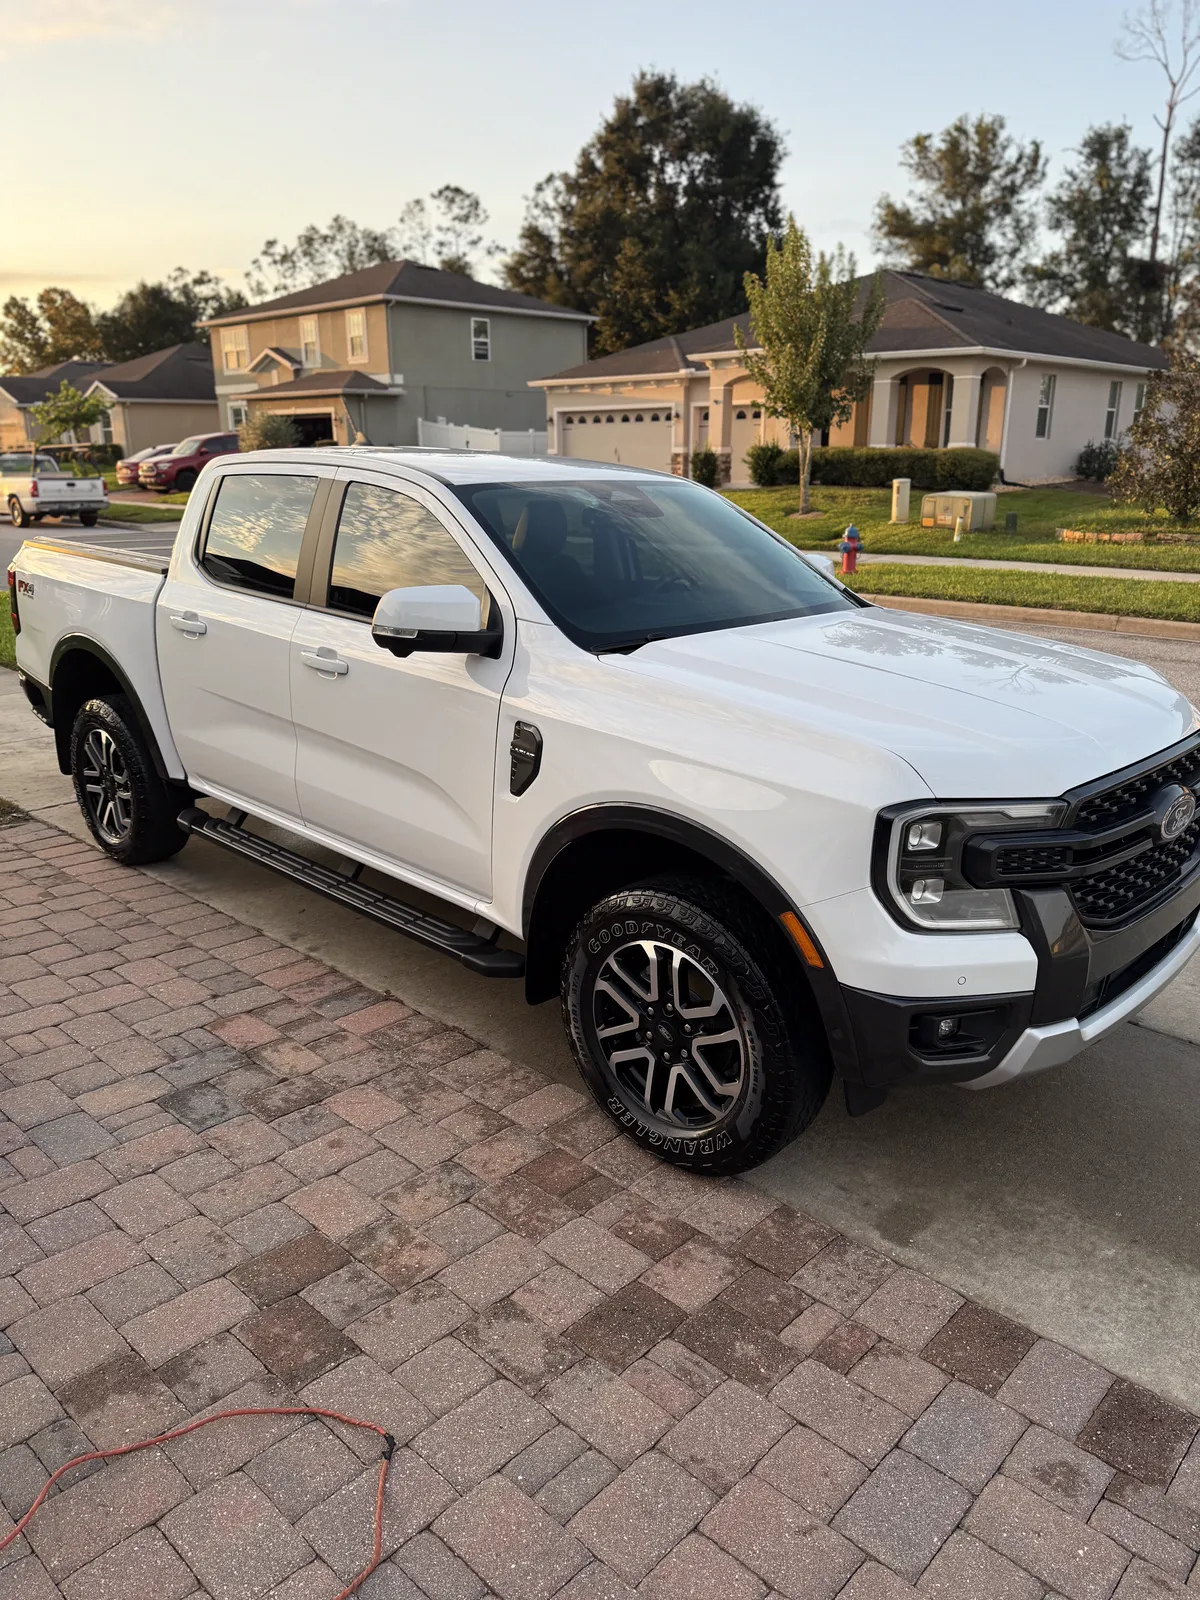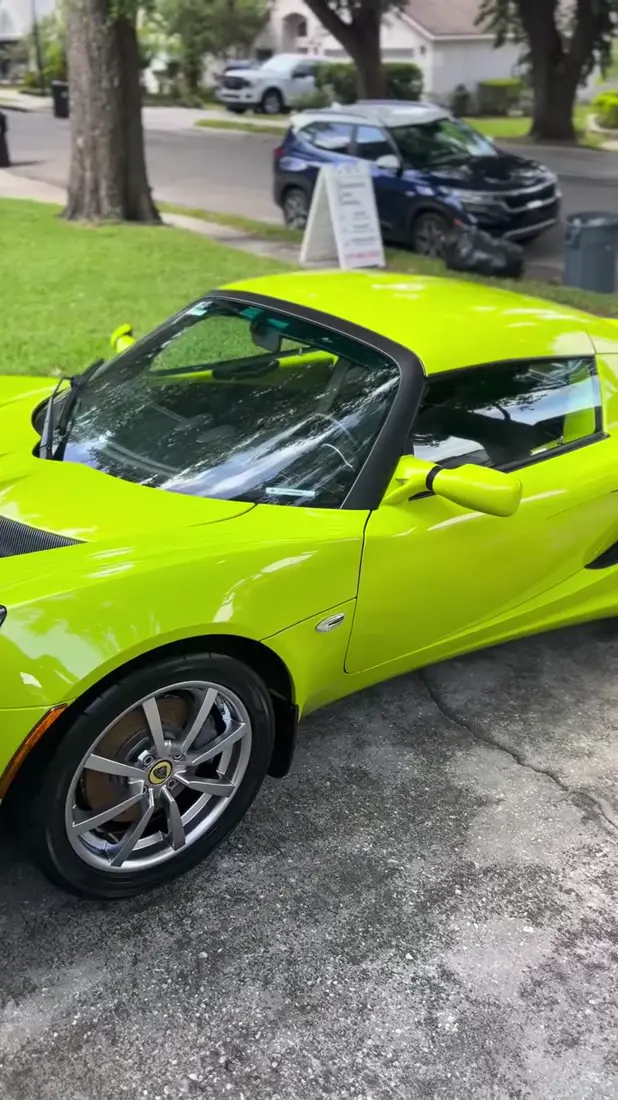
- Paint correction removes swirls by levelling a very thin slice of the clear coat. Wax only hides them for a while.
- The clear coat is thin: about 1.5–2.0 mils (35–50 microns) on most factory paint, according to gauge maker DeFelsko.
- That is why the paint depth is measured first, and the lightest level that works is chosen.
- A scratch that catches your fingernail usually goes too deep to polish out.
- You can check your own paint at home in a few minutes with a phone light and a plastic bag.
How paint correction works
Your car’s colour sits under a clear coat. Swirls and light scratches are tiny grooves in that clear layer. Light catches their edges, which is why paint looks hazy or shows circles in the sun.
Before: grooves in the clear coat
Light hits the edges of each groove and scatters. Your eye reads that as circles and haze in the sun.
After: one flat, level surface
The dashed line is the thin slice polished away. Light now bounces back evenly, so the paint looks deep and glossy.
A machine polisher with the right pad and compound takes off a tiny amount of clear coat, so the surface ends up level again. Light then reflects evenly, and the paint looks deep and glossy.
What it can fix, and what it cannot
- Fixes: swirl marks from washing, light scratches, water spots, haze, dull or oxidized paint.
- Cannot fix: a scratch deep enough to catch your fingernail and reach the colour, rock chips, or peeling clear coat. Those need paint repair.
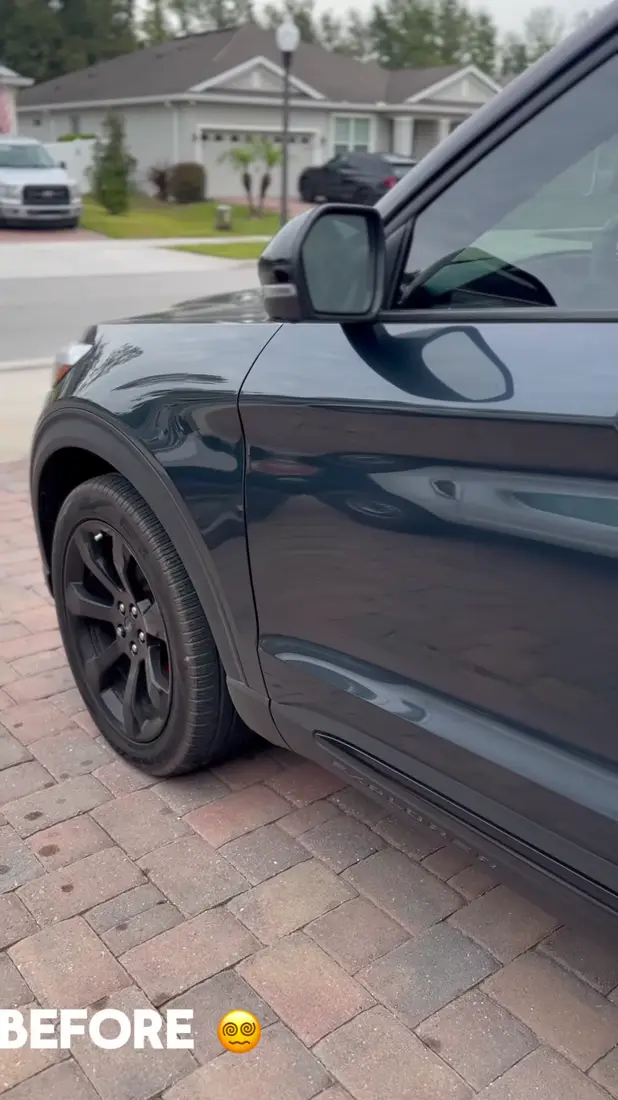 Before
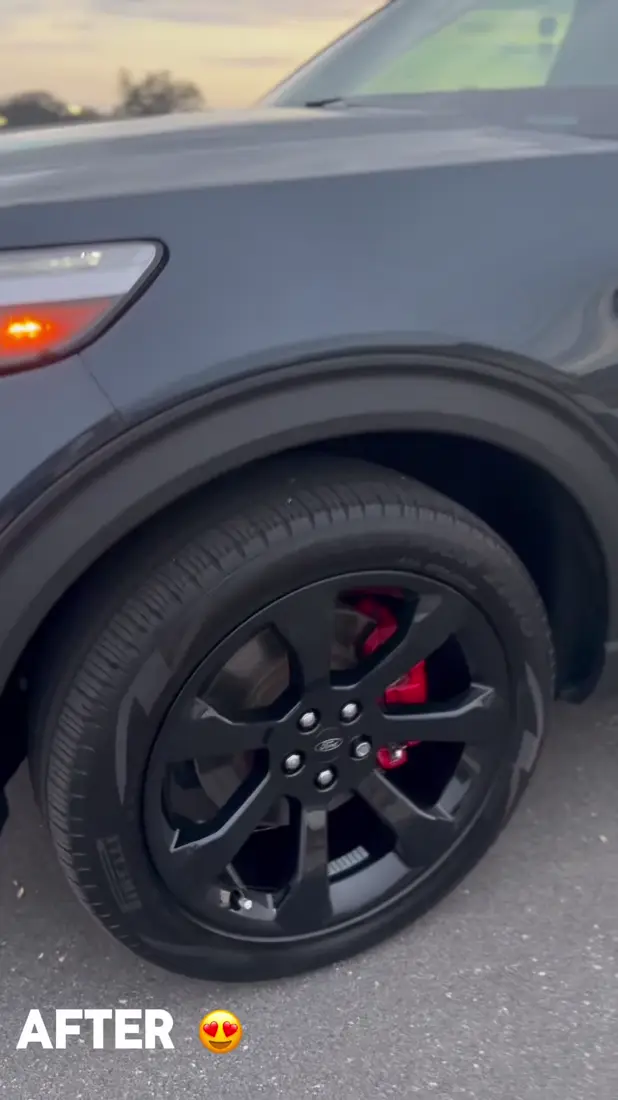 After
His Explorer ST job: the same paint, before and after paint enhancement.
Three paint checks you can do at home
You do not need special tools to see what your paint needs. These three checks take a few minutes on a clean, dry car, and they tell you whether you are looking at a wash, a correction or a repair.
You need: a phone flashlight and a clean, dry car parked in shade or a garage.
- Pick a dark, flat panel such as the hood or a front door.
- Hold the phone light about a foot from the paint and look at the reflection of the light, not the paint around it.
- Move the light slowly in a circle and watch what forms around the bright spot.
- Fine circles that ring the light like a spider web are swirl marks. Single straight lines are scratches. A milky haze around the light points to haze or oxidation.
Swirls, haze and light scratches all live in the clear coat, which is exactly what paint correction fixes.
You need: clean fingers and a clean scratch.
- Wipe the spot clean so you are not feeling dirt.
- Run a fingernail lightly across the scratch, not along it.
- If the nail glides over it, the scratch is usually shallow enough to polish out.
- If the nail catches, the scratch likely goes through the clear coat into the colour. That needs paint repair, not polishing.
You need: a thin sandwich bag and freshly washed, dry paint.
- Put your hand inside the bag.
- Glide your fingertips flat and lightly over the hood, then over a lower door.
- The bag makes tiny bumps easier to feel. Smooth as glass means the paint is clean.
- Rough or gritty means bonded contamination: specks that a wash does not remove.
Gritty paint is why every correction starts with iron remover and a clay bar: polishing over grit would scratch the paint again.
One-step, two-step or multi-stage?
One-step correction is a single polishing pass for light swirls on newer paint. Two-step compounds first, then polishes, for moderate swirls, water spots and haze. Multi-stage goes further for neglected or oxidized paint. Nick picks the level after inspecting the car and taking paint-depth readings, as the levels below show.
Single stage. Lifts gloss and removes about half of minor swirls. For newer cars with light marks, and for keeping a ceramic coating at its best.
Compound first to cut the marks, then polish to bring the gloss back. For daily drivers with moderate swirls, water spots and haze.
Several stages for heavy swirls and oxidation, with a final polish. For neglected finishes and paint that has never been corrected.
The level is set by your paint’s condition and your goal. He inspects the car and takes paint-depth readings before choosing.
How a correction visit goes
- Inspect and measureHe checks the paint under light and takes paint-depth readings.
- Wash and decontaminateFoam wash, iron remover and a clay bar, so no grit gets dragged around by the polisher.
- CorrectCompound and polish, as many stages as the level needs.
- ProtectCorrected paint should be protected. A ceramic coating locks the finish in.
See the levels and book on the paint correction in Apopka page, and read whether a ceramic coating is worth it after correction.
What people get wrong about paint correction
Wax removes swirl marks.
Wax fills and hides fine marks for a short time, then washes away and the swirls come back. Correction removes them by levelling the clear coat.
Paint correction strips your paint.
It removes a very small amount of clear coat. Car makers recommend taking off no more than about 0.3 mils (8 microns), per DeFelsko [1], which is why he measures paint depth first.
Any scratch can be polished out.
Only marks inside the clear coat can. If a scratch catches your fingernail, it usually reaches the colour and needs paint repair.
Once corrected, swirls never come back.
Correction removes the marks you have today. New swirls come from washing and drying, so protection and a gentle wash routine keep the result.
Keep corrected paint swirl-free
- Wash by hand with a pH-neutral car soap and a clean mitt, or use the two-bucket method.
- Skip automatic brush washes; they put swirls back.
- Dry with a clean, soft microfiber towel instead of letting water dry in the sun.
- Take bird droppings and bugs off within a day.
- Protect the result with a ceramic coating or sealant.
Words you will hear
- Clear coat
- The clear top layer of factory paint. It protects the colour and is the only layer correction works in.
- Swirl marks
- Fine circular scratches, mostly from washing and drying, that show around a light source.
- Compound and polish
- Abrasive liquids used with a machine. Compound cuts defects out; polish refines the surface to a gloss.
- Paint-depth gauge
- A meter that reads how thick the paint is, so the polishing stays inside a safe margin.
- Clay bar
- A soft clay that lifts bonded specks off the paint before polishing.
- Paint correction
- Machine polishing that levels the clear coat to remove swirls, light scratches, haze and oxidation.
Where to go from here:
Questions people ask
Does paint correction thin my paint?
It removes a very small amount of clear coat, a fraction of the layer. That is why Nick takes paint-depth readings first and chooses the lightest level that removes the defects. Done that way, correction leaves plenty of clear coat to protect the colour, especially when a ceramic coating goes on afterwards.
How is it different from a wax?
Wax fills and hides fine marks for a short time, then washes away and the swirls come back. Correction removes the marks by levelling the clear coat, so they stay gone. The usual path is to correct once, then protect the result with a ceramic coating or sealant instead of re-waxing every few weeks.
Should I coat after correcting?
Yes. Correction leaves the paint bare and perfectly level, which is the best surface for a ceramic coating to bond to. Coating right after correction locks the gloss in for years and makes washing easier. Without protection, the Florida sun and road grime start working on the corrected finish again straight away.

Nick founded Obsessively Clean Detailing in Apopka and does every detail himself, at the customer’s home or office. Everything in this post comes from his own jobs. More about Nick.
- DeFelsko (paint-thickness gauge maker), “How to Use Paint Thickness Gauges for Better Automotive Detailing”. www.defelsko.com/resources/automotive-paint-detailing